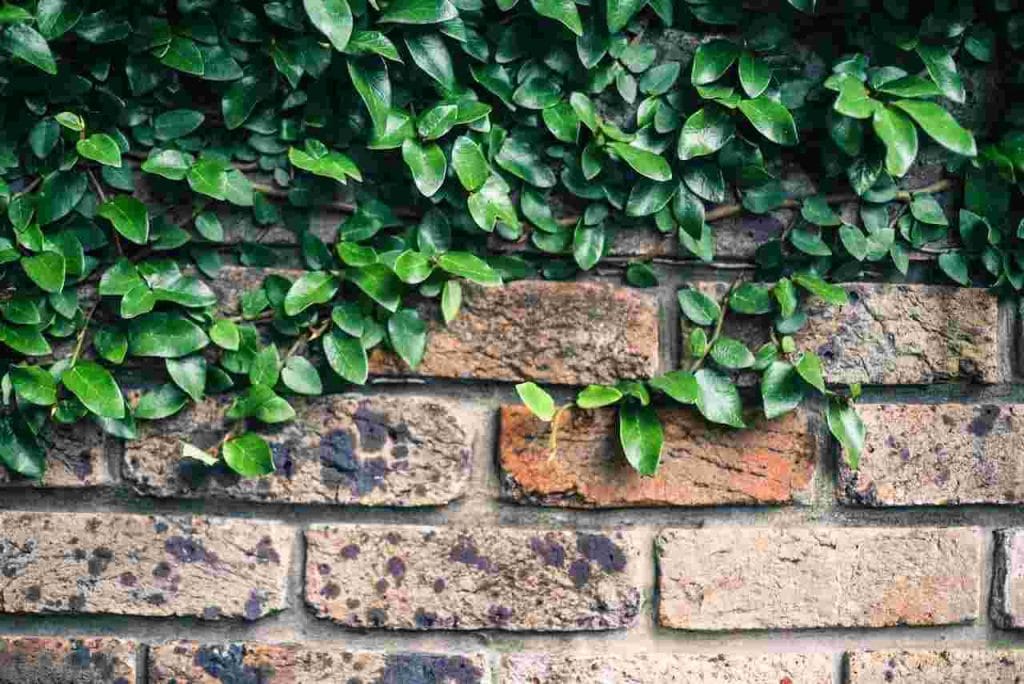
Planning a stone wall for your garden?
We supply a wide range of stone, gravel, and base materials suitable for garden walls, edging, and retaining features. Visit one of our yards to see materials in person and get advice on quantities.
Building a stone wall is a rewarding project that can transform your garden or outdoor space. Whether you’re aiming for a sturdy boundary, a retaining wall blocks, or just an eye-catching feature, learning how to build a stone wall is a great DIY endeavour. It’s more than just stacking rocks; it’s about creating a beautiful, long-lasting structure that adds character to your landscape.
So, let’s get into how to build a stone wall that not only stands strong but also looks amazing. The process isn’t overly complicated, but it does require patience, a bit of elbow grease, and some clever techniques to make sure the wall lasts for years. Here’s how to do it.
Here’s how to build a stone wall
Step 1: Plan and prepare
Before you even think about how to build a stone wall, you need to plan. Measure the area where the wall will go, and decide on the type of stone you’ll use. There are a lot of options: fieldstone, slate, flagstone, or even recycled bricks. Each has its look and texture, so pick something that matches your style and the rest of your garden.
Once you’ve got the stones in mind, think about the height and width of the wall. If you’re planning something tall (over 1m), you’ll need to use proper engineering to ensure stability, but for smaller walls, the process is simpler.
Step 2: Gather your tools
Knowing how to build a stone wall doesn’t mean you can skip the tool collection. You’ll need a few essentials, and lucky for you, they’re not too fancy. You’ll want:
- A shovel for digging the trench
- A level to keep everything straight
- A rubber mallet for tapping stones into place (no need for smashing them!)
- A trowel for spreading mortar (optional, depending on whether you want a dry-stacked wall or a mortared one)
- A wheelbarrow to move stones around
- Gloves (because, let’s be honest, rocks aren’t exactly soft)
Once you’ve got your tools, you’re ready to start, but the first thing you’ll need to do is dig.
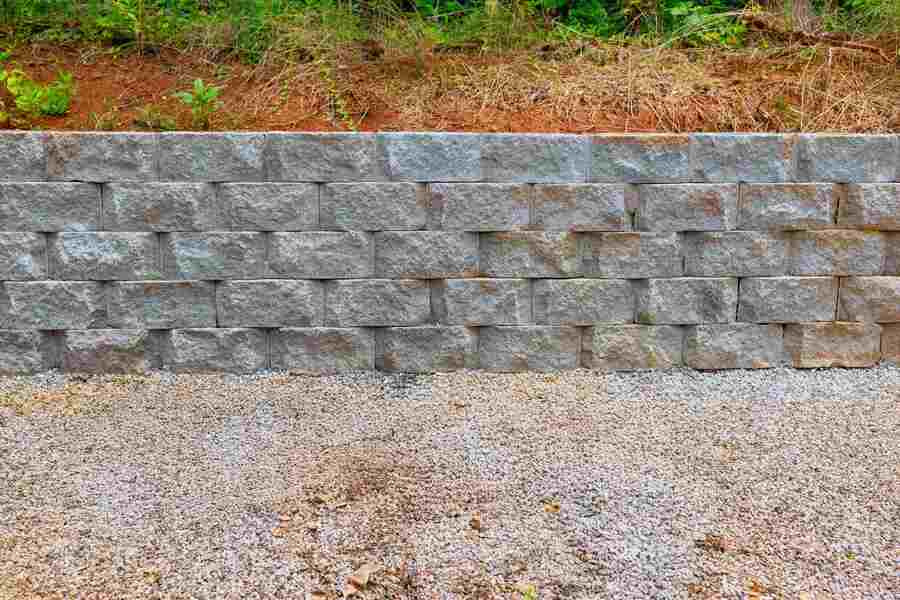
Choosing the right stone and base is key to a strong, long-lasting wall.
At MI Organics, we stock decorative stone, road base, crusher dust, and drainage aggregates commonly used for garden and stone wall projects.
Step 3: Dig a trench
When it comes to how to build a stone wall, digging a trench is one of the most crucial steps. A trench about 6 to 12 inches deep is perfect for most stone walls, as it provides a solid base. Make sure the trench is wide enough to accommodate the width of your stones.
A good rule of thumb is to make the trench twice as wide as the biggest stone you plan to use. This allows the stones to fit tightly together, which is essential for stability. It’s also important to ensure the trench has a slight slope (a little bit of a taper). This helps with drainage so that water doesn’t get trapped in your wall and cause damage over time.
Step 4: Lay the foundation
Now that you have your trench, it’s time to start laying the foundation. You’ll want to start with the largest stones at the bottom. These big, flat rocks will give your wall the strength it needs, so don’t rush. If you’re wondering how to build a stone wall that stays put, this foundation is key.
Lay each stone flat in the trench and use your level to make sure they’re straight and even. Once you have the first layer in place, use your mallet to tap the stones into position. Make sure each stone is snug against the others, leaving no gaps. This will help create a strong, cohesive structure.
Step 5: Stack the stones
Once your foundation is set, it’s time to start stacking the stones. This is where your creativity can come into play. For a rustic, natural look, use stones that vary in size and shape. To build a more uniform wall, choose stones that are similar in size.
For the second layer, place stones so that they overlap with the stones in the layer below. Think of it like laying bricks in a brick wall—staggering the joints makes the structure much stronger. Each new layer should be a little more narrow than the one below it, which helps with stability and makes your wall look more professional.
Step 6: Fill in the gaps
While stacking stones, you’ll probably notice some gaps between them. Don’t worry, this is totally normal, and it’s part of the charm of how to build a stone wall. If you’re building a dry-stacked wall (without mortar), you can fill in the gaps with smaller stones or aggregate. This will help keep the wall together and prevent any shifting over time.
If you’re going for a mortared wall, you can apply mortar between the stones as you go. Use your trowel to spread it evenly, and make sure the stones fit snugly together. Remember, a little mortar goes a long way, so don’t overdo it.
Step 7: Keep it level and plumb
As you build each layer, check it regularly with your level. If you’re using a plumb line (a string with a weight), make sure your wall is straight as you go up. One of the key tricks to how to build a stone wall is maintaining a consistent level. This helps ensure your wall doesn’t start leaning or tipping over as it gets taller.
If you’re using a dry-stack method, it’s especially important to make sure the stones are securely placed and don’t shift. If any stones seem loose, tap them into place with your mallet, or replace them with a better-fitting stone.
Step 8: Add the capstone
Once you’ve reached the height you want, it’s time to finish off the wall with a capstone. This is a large, flat stone that sits on top of the last row. It provides a finished, polished look and can help hold everything together. The capstone can also serve as a flat surface, which can be great for seating or as a decorative feature.
Step 9: Fill and compact
After finishing your wall, you’ll want to fill any remaining gaps with soil or gravel, depending on your design. This helps lock the stones in place and provides stability. Gently tamp down the soil or gravel so that it settles into the wall.
If you want your wall to be even stronger, you can use a compactor to gently press the material into the cracks. This isn’t always necessary for smaller walls, but it can make a big difference for larger projects.
Step 10: Maintain your stone wall
The last part of how to build a stone wall is maintenance. While stone walls are pretty low-maintenance, it’s a good idea to keep an eye on them over time. Check for any loose stones or signs of shifting, and replace stones as needed. If you’re using mortar, you might need to patch it up occasionally to keep things looking fresh.
One of the coolest things about building a stone wall is that it will age beautifully over time. The stones will weather, and the wall will gain character as it settles into its surroundings.
Building a stone wall isn’t just about stacking rocks, it’s about creating something that will last and enhance your space. Whether you’re looking to create a boundary, a garden feature, or a sturdy retaining wall, knowing how to build a stone wall is a skill worth mastering. With patience, the right tools, and a bit of creativity, you’ll have a beautiful stone wall that can stand the test of time. And now, you’re all set to try it out on your next DIY project.
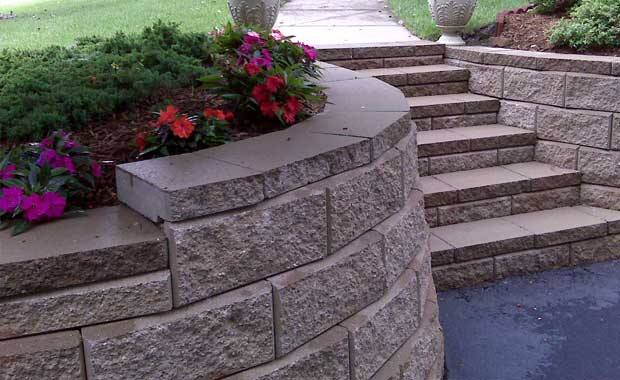
Get stone and base materials locally
If you are building a stone wall, our team can help you choose the right materials and work out how much you need. We supply quality stone, gravel, and base materials for DIY and landscaping projects.