
Ready to start your pebble mosaic project?
We stock a wide range of garden pebbles suitable for paths, feature areas, and decorative mosaics. Visit one of our locations to see colours and sizes in person.
Pebble mosaics are a fantastic way to add a personal touch to your garden. They’re simple, affordable, and a great way to get creative while improving the look of your outdoor space. Whether you’re looking to make a small focal point or cover a larger area, garden pebbles can be used to create beautiful and unique designs.
How to make a pebble mosaic in your garden
1. Why choose garden pebbles for your mosaic?
Before we jump into the how-to part, let’s talk about why garden pebbles are a great choice for your mosaic. Garden pebbles are natural, versatile, and come in a variety of shapes, sizes, and colours. They work perfectly for creating intricate designs and can easily blend into the existing elements of your garden. Whether you want to create a vibrant burst of colour or a more subtle, earthy feel, garden pebbles are your go-to material. Plus, they’re durable and will last for years, standing up to the elements without fading or breaking down.
2. Plan your design
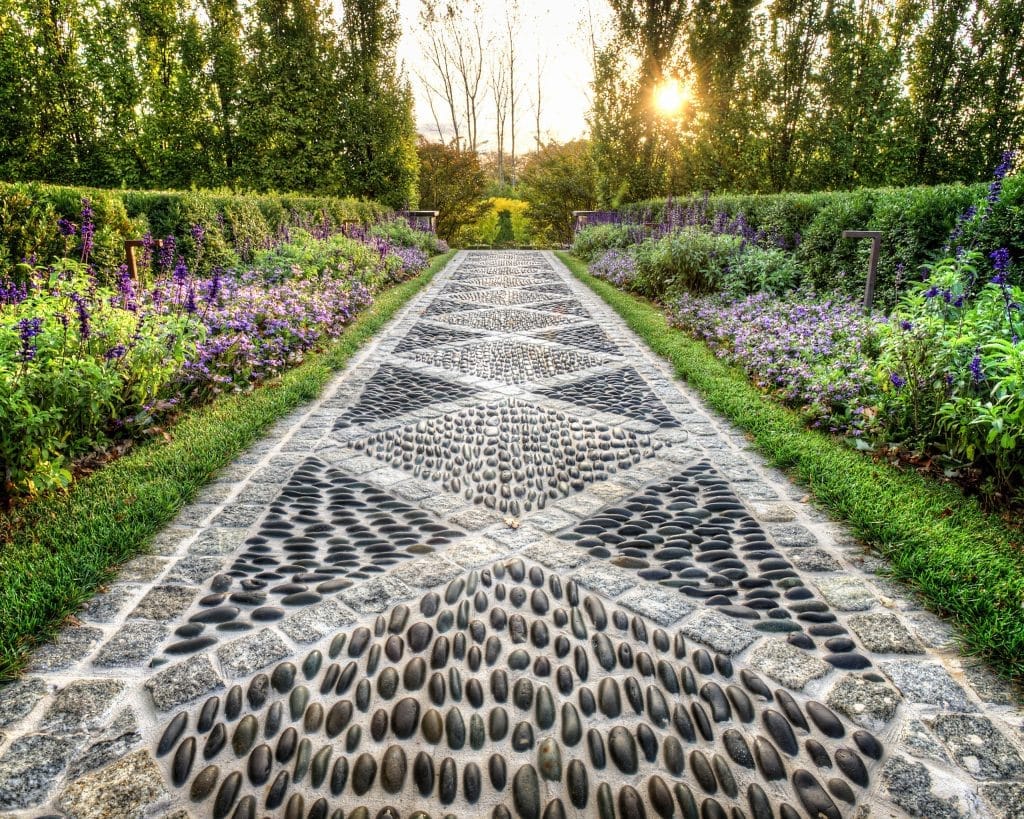
The first step in creating a pebble mosaic is deciding on a design. You can go as simple or as complex as you like. Some popular designs include geometric patterns, spirals, flowers, or even abstract shapes. Think about the size of the area where you want your mosaic and how much detail you want to include. If you’re a beginner, it’s best to start with something simple, like a circular or floral design, and work your way up to more complex patterns as you get more comfortable.
Once you have an idea in mind, sketch it out on paper. This will help you visualise your design and determine the placement of your garden pebbles. If you’re making a larger mosaic, you might want to use grid paper to break down the design into smaller sections. This can make it easier to transfer the design onto the ground.
3. Choose your garden pebbles
Now that you have a design, it’s time to choose your garden pebbles. You’ll want to select pebbles that complement your design and overall garden aesthetic. There are plenty of options to choose from, such as smooth pebbles, rough-textured stones, or even mixed pebbles with a variety of colours.
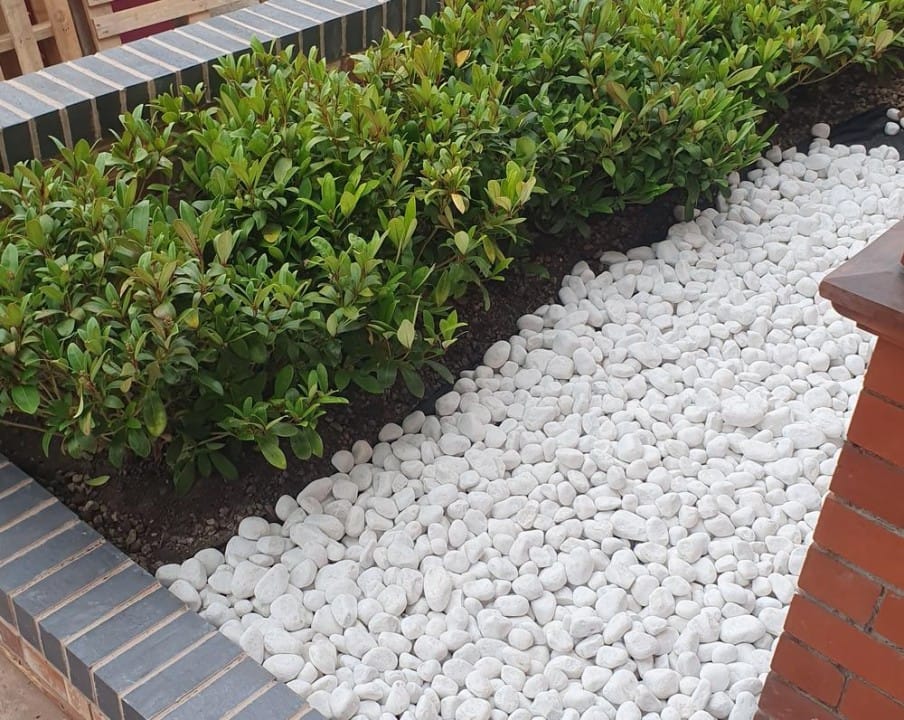
For a more vibrant mosaic, go for coloured pebbles in shades of red, blue, yellow, or green. If you prefer something more neutral, choose natural-toned pebbles, such as browns, grays, and whites. Keep in mind that you’ll need different shades of pebbles for shading and creating depth within your design, so try to pick a variety of colours and sizes.
If you’re unsure about the colour palette, take a walk through your garden and see what tones naturally appear. This can help you choose pebbles that blend in with your plants and other outdoor elements.
Choosing the right pebbles makes a big difference to the final look of your mosaic.
At MI Organics, you can choose from smooth river pebbles, decorative stones, and feature aggregates commonly used for garden paths and pebble mosaics. Find your closest MI Organics location.
4. Prepare the area
Next, it’s time to prepare the area where your mosaic will go. If you’re planning to create your pebble mosaic on a flat surface, clear the area of any grass, weeds, or debris. You can do this by using a shovel or hoe to remove anything that could get in the way of your mosaic. Once you’ve cleared the space, use a rake to level the ground.
For added stability, you may want to lay down a weed barrier or landscape fabric to keep the area free of weeds. You don’t want anything poking up through your mosaic later on! You can also add a thin layer of sand to the base, which will make it easier to work with the garden pebbles and help with drainage.
5. Create your grid (optional)
If your design is more complex, you might find it helpful to create a grid or outline in the area where you’ll place the garden pebbles. You can do this by using string, chalk, or even small stakes to mark the edges of your design. This will help keep your mosaic neat and aligned as you go.
If your design is relatively simple, you can skip this step. However, if you’re going for something intricate, a grid will help ensure that the shapes and patterns stay intact as you place your pebbles.
6. Start placing your garden pebbles
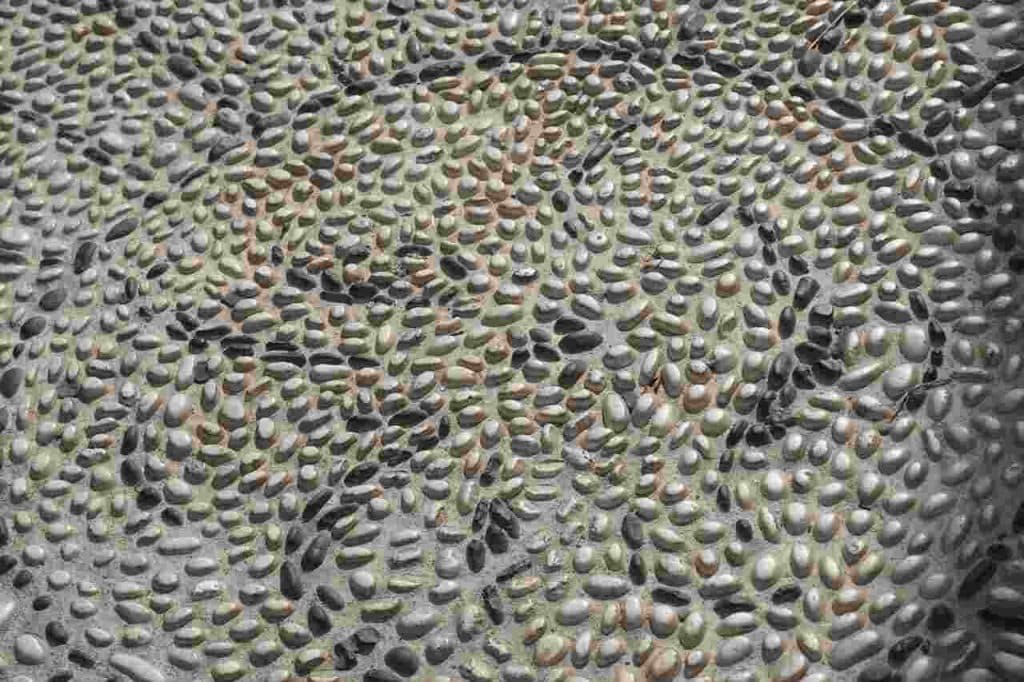
Now comes the fun part – placing your garden pebbles! Start by placing the outermost stones first and then work your way inward. For each pebble, gently press it into the sand or soil to make sure it stays in place. You don’t need to use adhesive just yet, but be sure to leave a small gap between the pebbles to give it that authentic mosaic look.
Place each pebble according to your design. For example, if you’re creating a flower design, start with the centre of the flower and work your way outwards, making sure each petal is made up of evenly spaced pebbles. For geometric shapes, keep the edges sharp and straight.
Take your time with this step, there’s no rush. The more carefully you place your garden pebbles, the more professional and polished your mosaic will look.
7. Add adhesive for extra hold
Once you’re happy with the placement of your garden pebbles, you can apply adhesive to hold them in place. Outdoor adhesive or mortar is perfect for this job. Use a trowel or a putty knife to spread a thin layer of adhesive between the pebbles. Be sure to only use a small amount at a time, as excess adhesive can seep through the gaps and make a mess.
After you’ve applied the adhesive, press each pebble down firmly to ensure it sticks. If you’re using mortar, you can leave it a little thicker between the stones for a more rustic look.
8. Fill in the gaps
Once the adhesive has set, fill in the gaps between the garden pebbles with sand or grout. Sand is a great choice if you want a more natural, casual look, while grout will give your mosaic a more polished and defined appearance.
To fill in the gaps, simply sweep the sand or grout over the entire mosaic, making sure to work it into the cracks between the pebbles. Use a soft brush or cloth to wipe away any excess and clean the surface of the stones.
9. Finishing touches
Finally, give your pebble mosaic a once-over to make sure everything looks good. You can add small decorative touches, like additional pebbles in a contrasting colour, or even plants around the edges to soften the look. If you’re working with a small area, consider surrounding the mosaic with garden edging to create a defined border.
10. Let it set
Once everything is in place, allow your mosaic to set for 24-48 hours, depending on the adhesive used. This will give it time to bond properly and ensure the garden pebbles stay in place.
Creating a pebble mosaic in your garden is a fun and rewarding project that adds personality and charm to your outdoor space. With the right materials and a little creativity, you can transform your garden path, patio, or any other area into a beautiful work of art. Whether you’re making a simple pattern or something more intricate, the possibilities with garden pebbles are endless. Just take your time, and enjoy the process of creating something unique that’ll bring beauty to your garden for years to come!
Buy garden pebbles locally
If you are planning a pebble mosaic for your garden, driveway edge, or pathway, we can help you choose the right stone and quantity. Our team can also advise on base prep and coverage rates.